
Easy Information Gathering with Maltego in Kali Linux

Maltego, is an open source intelligence and forensics application. This is a GUI tool so looks different. Maltego is an information gathering tool that allows you to visually see relationships and it focuses on providing a library of transforms for discovery of data from open sources, and visualizing that information in a graph format, suitable for link analysis and data mining.
Maltego allows you to enumerate network and domain information like Domain Names, Whois Information, DNS Names, Netblocks, IP Addresses etc
Maltego also allows you to enumerate People information like:
- Email addresses associated with a person’s name
- Web sites associated with a person’s name
- Phone numbers associated with a person’s name
- Social groups that are associated with a person’s name
- Companies and organizations associated with a person’s name etc
Maltego also allows you to Do simple verification of email addresses, Search blogs for tags and phrases, Identify incoming links for websites, Extract metadata from files from target domains.
To open graphically go to this menu in your kali linux.
Application → Kali Linux → Information gathering → DNS Analysis → Maltego
OR
Open terminal type maltego and hit enter


After loading maltego ,it will ask for the further process so click next.

Because We are using first time maltego so we need to register and then log in. So click the register here link.
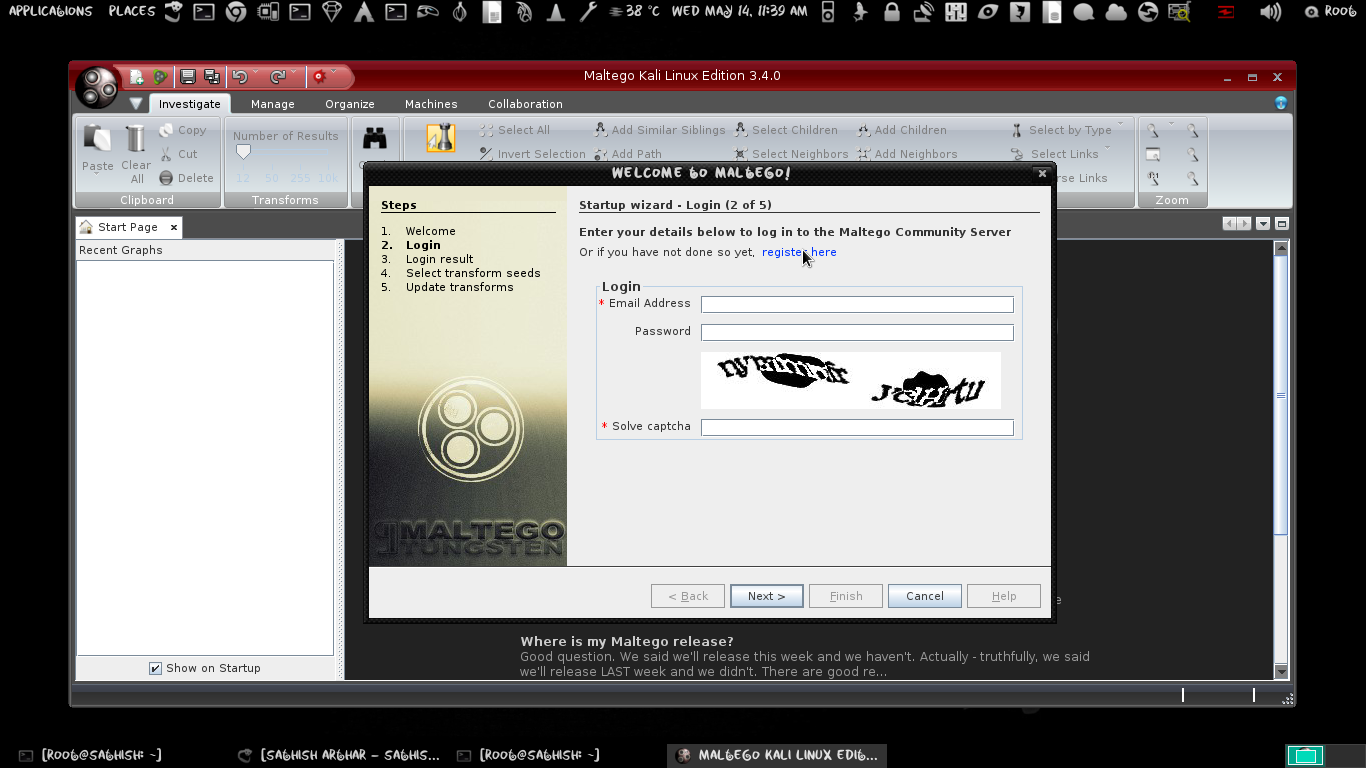
We are new user so we need to register before using this tool. Fill up all details for completing the registration.
After completing your registration go to your mail Id and verify your account by clicking on verification link which is send y maltego.
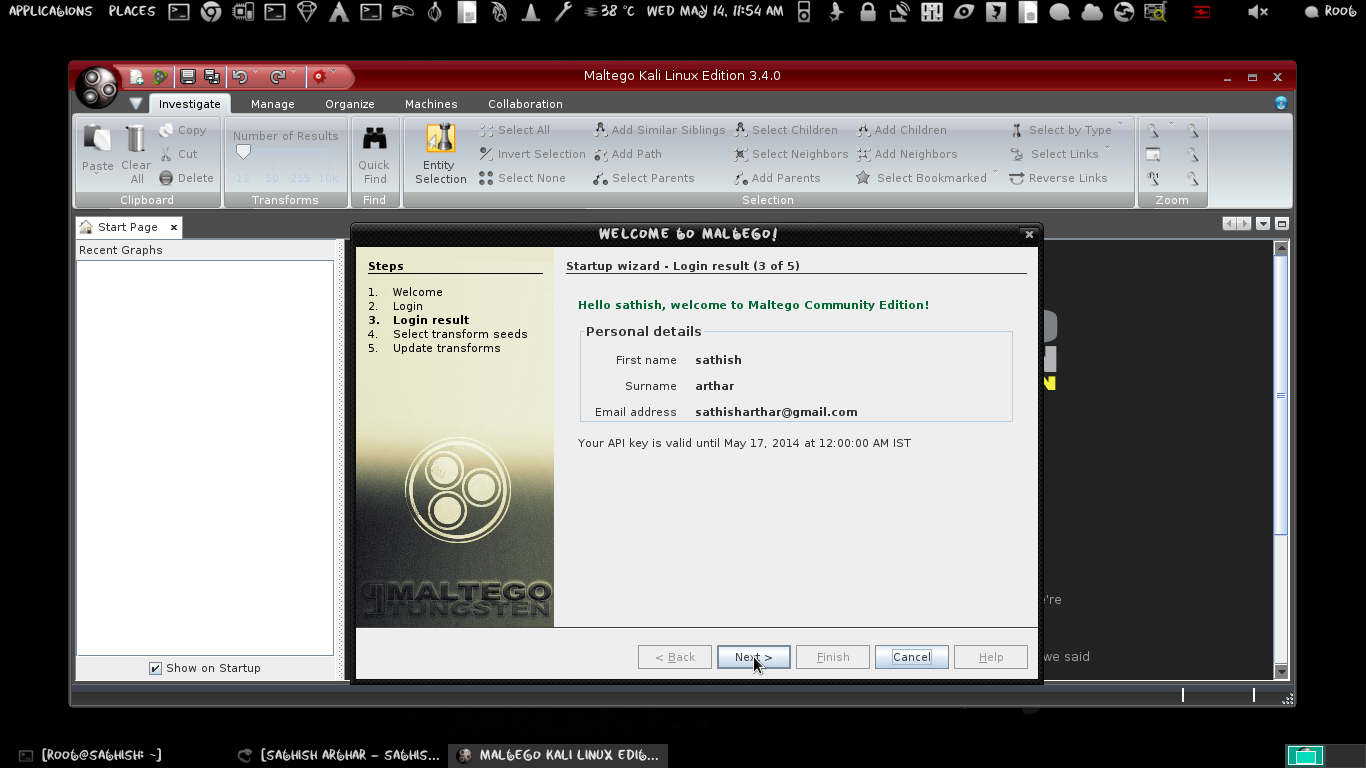
After verifying your maltego account login with your registered email id and password.

Soon you will see a welcome massage.
Just click on Next.

Click on Finish

Click on cancel we will do it manually.

Click on new icon (see image) for gathering the information

By clicking left button of mouse drag the domain in Main view.
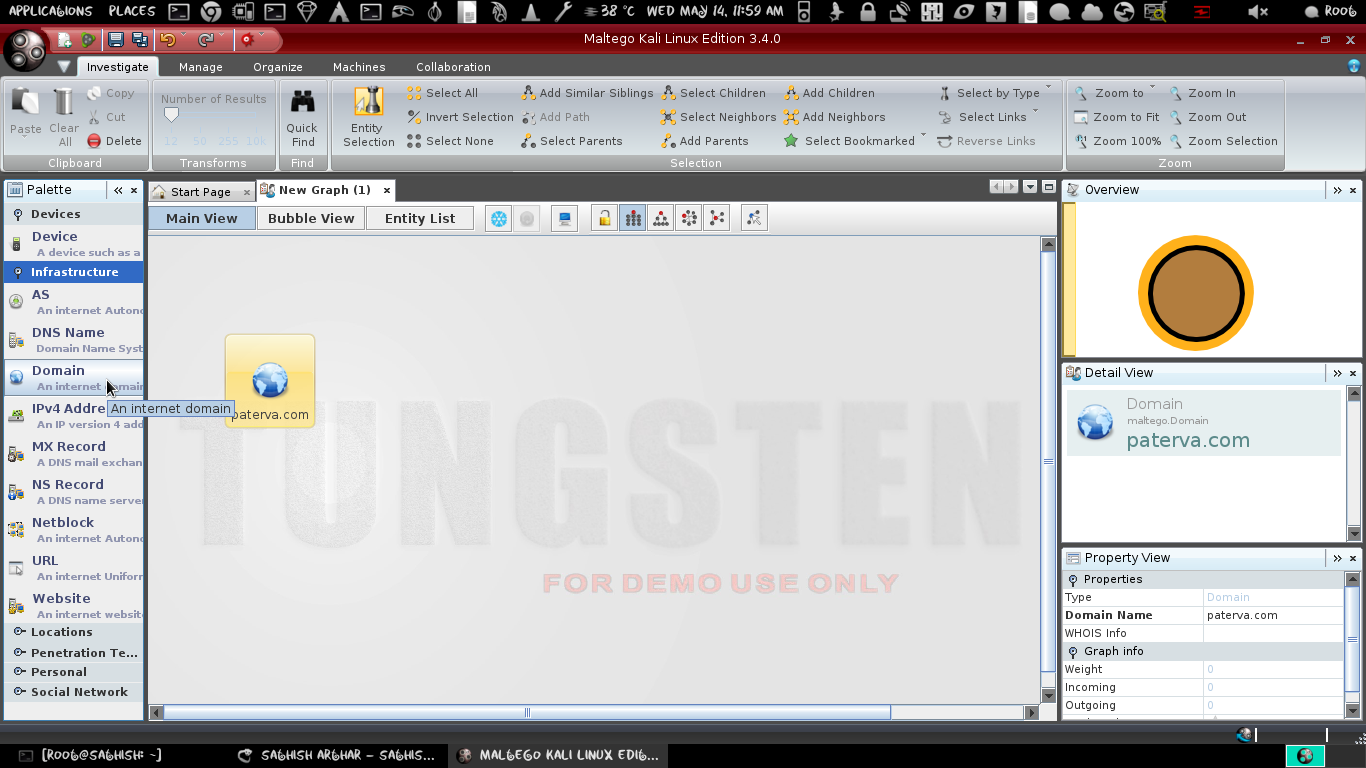
Double click on domain icon and rename it into your target domain. Here I am taking google.com as example.
Here we are searching for top level domain for our target domain. First right click on domain then
Run Transform → All Transforms → To Domain ( Find other TLDs)

Here we got the result of TLD search.
Now we are to gain more information about these domains. First of all select all domains by dragging left mouse button or you can select one by one press Shift + left click.
After selecting all domains, right click one of them and then
Run Transform → All Transforms → To Website (Quick-Lookup)

Here we are going to search all website which are associate with these domains.
Well here we are just replacing the a website icon I have targeted http://www.google.com for more info follow the image. This is not a necessary part but you should learn it.
Here we are going to find the IP address of our target website. Right click on target website then
Run Transform → Resolve to IP → To IP Address (DNS)
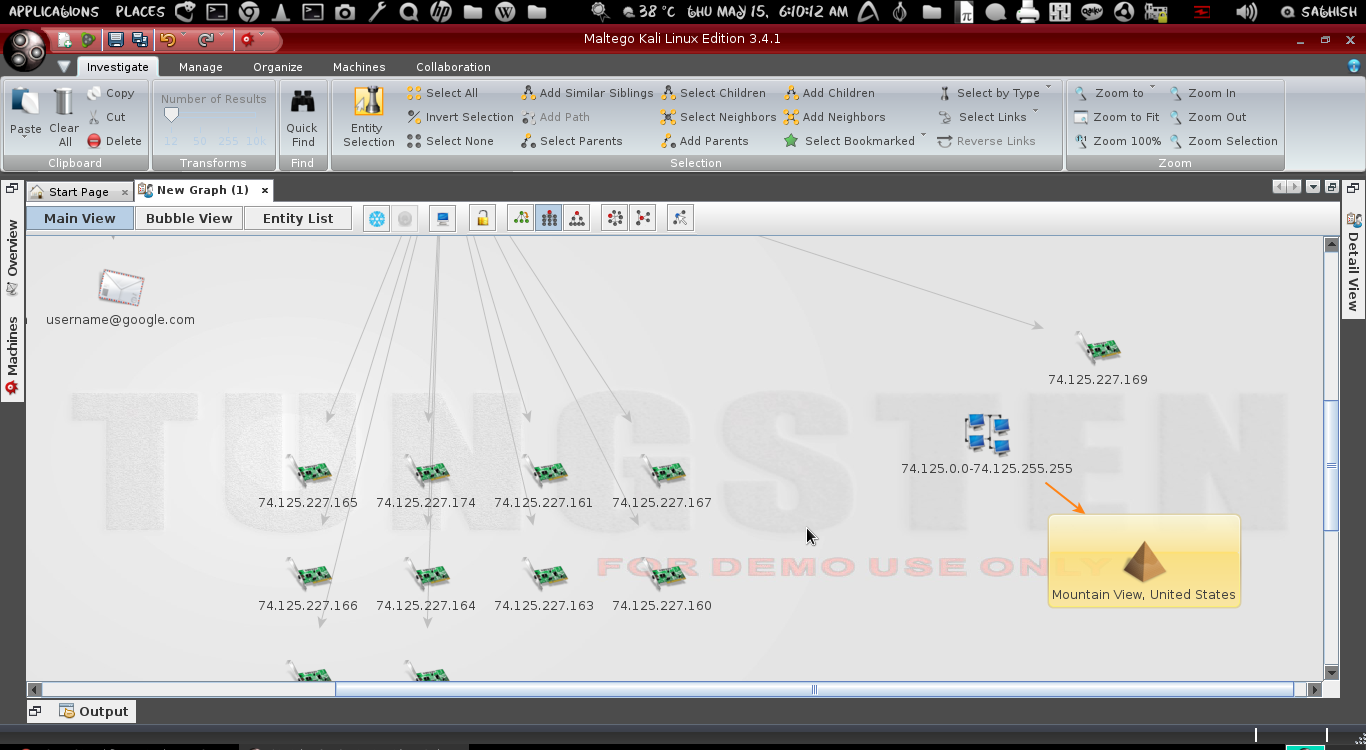
Here we got the IP address of our target website and the detail of where its located.


No comments:
Post a Comment